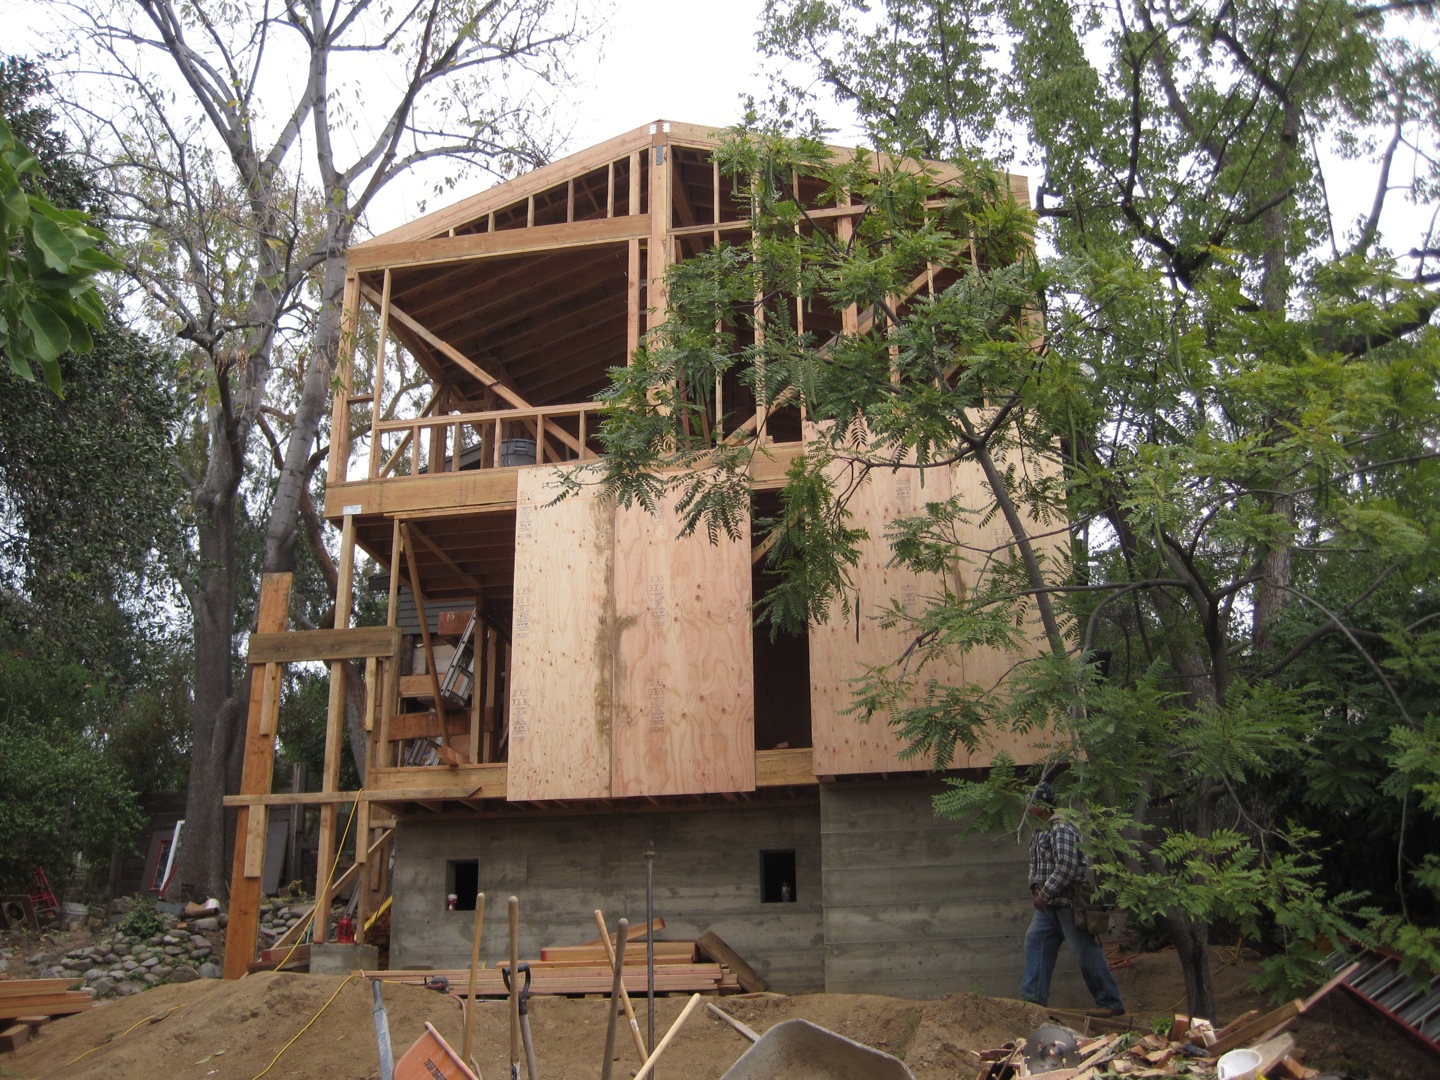
Friday, March 4, 2011

Finishing....wood, tile, steel...


 Outside Wood - the siding...


The siding has been going up for the past two weeks when it hasn't been raining...where the old house meets the new house we matched the type of siding and will paint it the same color as the old house (Dragon's Breath)....eventually...someday...but for now we primed it which is why it's white...

Where the new house extends past the old house our theme was Swiss Minimal and basically that it look like an overgrown tree house...we invested in a nice wide plank of custom milled Cedar - there are two sizes, 7-1/4" and 10-3/4" and plan on keeping it natural and either letting it weather or sealing it clear.  The smaller boards run vertical and the larger ones generally run horizontally.  We have some regrets - some reveals and spacing is off...but overall the Cedar is pretty beautiful and looks good all on it's own despite our design flaws :)


The soffits are also Cedar, but tongue and groove and more narrow.

Here is a detail view of the new palette - concrete, a galvanized metal drip and corner bead, flush framed wood windows and glass..


Inside Wood - floors, ceilings and walls...
Inside we are using wood for the floors, some ceilings and some walls.


Guillermo is installing the wood finish work...he helped us build our addition is Silverlake and we have kept in touch...he is a perfectionist!

Here he is gluing the studs before the ceiling goes up...


The ceiling is glued and finish nailed - either one would probably be fine but we wanted to make sure that 4'x8' sheets of plywood would not come down in an earthquake - so we did both...


Guillermo lays out the boards before they go up to make sure the patterns make sense and will meet in a harmonious way...

...like these...


Tony and Pancho are working on the panelling for the Master Bedroom - it is more tricky than the Family Room ceiling because we chose birch which has a broad range.  Some sheets are very regular and some have a lot of figure...for a while we contemplate sending them back and then Tony comes up with a beautiful composition...it should be done by tomorrow...


Tile
The tile crew started last week...first they waterproof and we get that inspected.  Then they float the floors and walls.  Floating means they bring the rough framing out to where they will install the tiles.  The floors are floated with mortar which is sand mixed with cement - the walls are floated with cement boards.  Here are buckets of sand waiting to become mortar.


The walls covered in board...


Here is the Mortar being mixed


Here is Craig floating the floors...He sets up screeds so that they will be level...


Steel
The steel installation just began today - The upstairs deck is cantilevered about ten feet above the ground and feels quite precarious.  We originally designed a heavy wood rail that was more similar to other elements in the existing house to wrap around the deck - but after living without a railing for so long we realized that we didn't want to obscure the great view and hired our welder to install a light metal railing.


Monday, February 14, 2011

Drywall


Drywalling the Family Room


The Family Room ceiling is wood - it will get done at the same time as wood floors...
...hopefully next week...

View from Family Room to Kitchen


Master Bathroom tub is in...
it had to get installed prior to tile next week...


The Girls room is almost done - if all goes well they can move back in next week after the drywall is mud and taped...


Wednesday, February 9, 2011

Paper and Insulation

After passing the rough framing inspection we began waterproofing the house by wrapping it in two layers of water protective paper.  When that was done we also insulated the inside of the house with a "green product" registered by the National Green Building Council....


We had the house professionally insulated - they foam every crack and crevice, between windows and studs and plywood to keep air infiltration from seeping in or out....


Sunday, January 23, 2011

Rough Framing Complete


Friday we passed our rough framing inspection...

Framing is complete, windows are in, roof is on -  mechanical, electrical and plumbing contractors also passed their rough inspections....now we have permission to "wrap" the building...Tuesday we start applying building paper to the outside to get weather protected....


View from outside of 
Master Bedroom looking up to Family Room...


View from the new lower Hallway
looking towards Harper's room where
the new upper hallway will go.


After the building is wrapped in paper we can start siding.  The siding comes next week as well but it needs to get painted on the backside before it gets attached to the walls.

In the meantime we can get some other painting done like the exterior windows and we can also start insulating between the walls, under the house and in the roof.


Master Bedroom - the wood flooring came last week and is sitting in the rooms where it will be installed.  It needs to acclimate for about three weeks prior to installation.

Before the floors go on we will most likely drywall so that the floors don't get damaged during drywall installation.


View of Master Bathroom
The Mechanical ducts all run through chases so that none of the
exterior walls' framing was compromised.


View of Kid's bathroom
Dimensioned elevations of each room are still nailed to the walls - these
helped the electricians and the plumbers accurately place their fixtures.


View of North Side of House

The doors and windows are weatherproofed and airtight so even if it rains now we should be safe from getting soaked inside anymore.

The decks are still waiting for us to choose a decking material and come up with a railing design.


View of Family Room looking towards kitchen
One wall still stands between the old house and the new
house - we are waiting to get the building wrapped and
insulated before it comes down.


 North wall of family room -

The vents from the Master Bathroom fixtures come up this wall and exhaust to the roof  - we framed this wall with extra deep studs so that the plumber could cut them up and not compromise their strength.


View of west side of house

Thursday, December 30, 2010

Sheathing


With all the framing complete the crew can start sheathing - attaching plywood to the roof and walls.  There are some walls that are indicated by the Structural Engineer that need "Shear Walls."  In these areas the plywood needs to be nailed very precisely and is indicated on his drawings.  For example the nails are 4" apart at the perimeter and 10" apart at the midspan.  The size of the shaft of the nail is also specified and he has calculated the exact strength of the entire assembly based on the building code.  These walls protect the house from racking or moving laterally in a seismic event.  At the end of the shearwalls there are also larger framing members - for example if the wall is designed using 2x4 studs the end of the shearwalls will have 4x4 posts.  The posts are connected to the beams below with a large steel brace called a hold down.  The hold down protects the house from the up and down movement during a seismic event.


Most of the walls and all the roof is plywooded - but unfortunately the day after it started raining for a week - The crew has tarped the construction the keep the interior wood as dry as possible - considering the scale of the storm and the fact that these are wind-driven rains.


Rain comes in at all the window openings...


The tarp covering a joint where the roofs come together in such a way that the gap will later be glazed...


The crew makes a "to do" list with some if the final items for rough framing in preparation for a meeting with the Structural Engineer...


View from Family Room window of the storm...

The rains have finally taken a little breather - they still come every few days so we do what we can in-between.  The crew frames the last wall that was demolished on the existing house...These walls get a "double shear wall."  They are not long enough to calc out with plywood on one side so they get plywooded on both sides...


Time to get ready for the windows to get installed...The windows were scheduled for delivery when the rain started but we didn't want to risk them getting warped.  With a day of sunshine predicted we arrange for the window delivery so that we can prime them before they get installed.  It is important that the outside face of the jambs get primed before they go in because that side gets attached to the framing.  Once it is attached if it is not sealed with primer the wood could absorb water and warp....That's my painting crew - Daddy and Ella...


The windows are primed and the opening are cleaned up. A huge wind storm has come through with 60 MPH winds so we lay the windows flat.  Tomorrow some of the trickier windows are getting installed by a window installer who specialized in tricky windows.  Next week the framer will install the rest of them which are more standard.


Above - Master Bedroom corner window which gets a glass miter...
Below - the glass and mitered jambs waiting to be installed...


The plumbers were also able to begin work this week - they install all of the piping that requires gravity both down and up to work.  The sewer lines for down and the vents for up.  They go before the mechanical and electrical sub-contractors because gravity has it's own will.  The ducts are forced air so they can go anywhere that fits (with a few rules - like not too many bends) and the electricity of course can wire itself around obstacles as well.  Everything has been dimensioned and layed out so that it will finish in the right place.  The duct runs and chases have been built.

The toilet rough-in ...

The vent pipes for the shower, toilet, and sink...