Wednesday, November 24, 2010

First Floor Framing


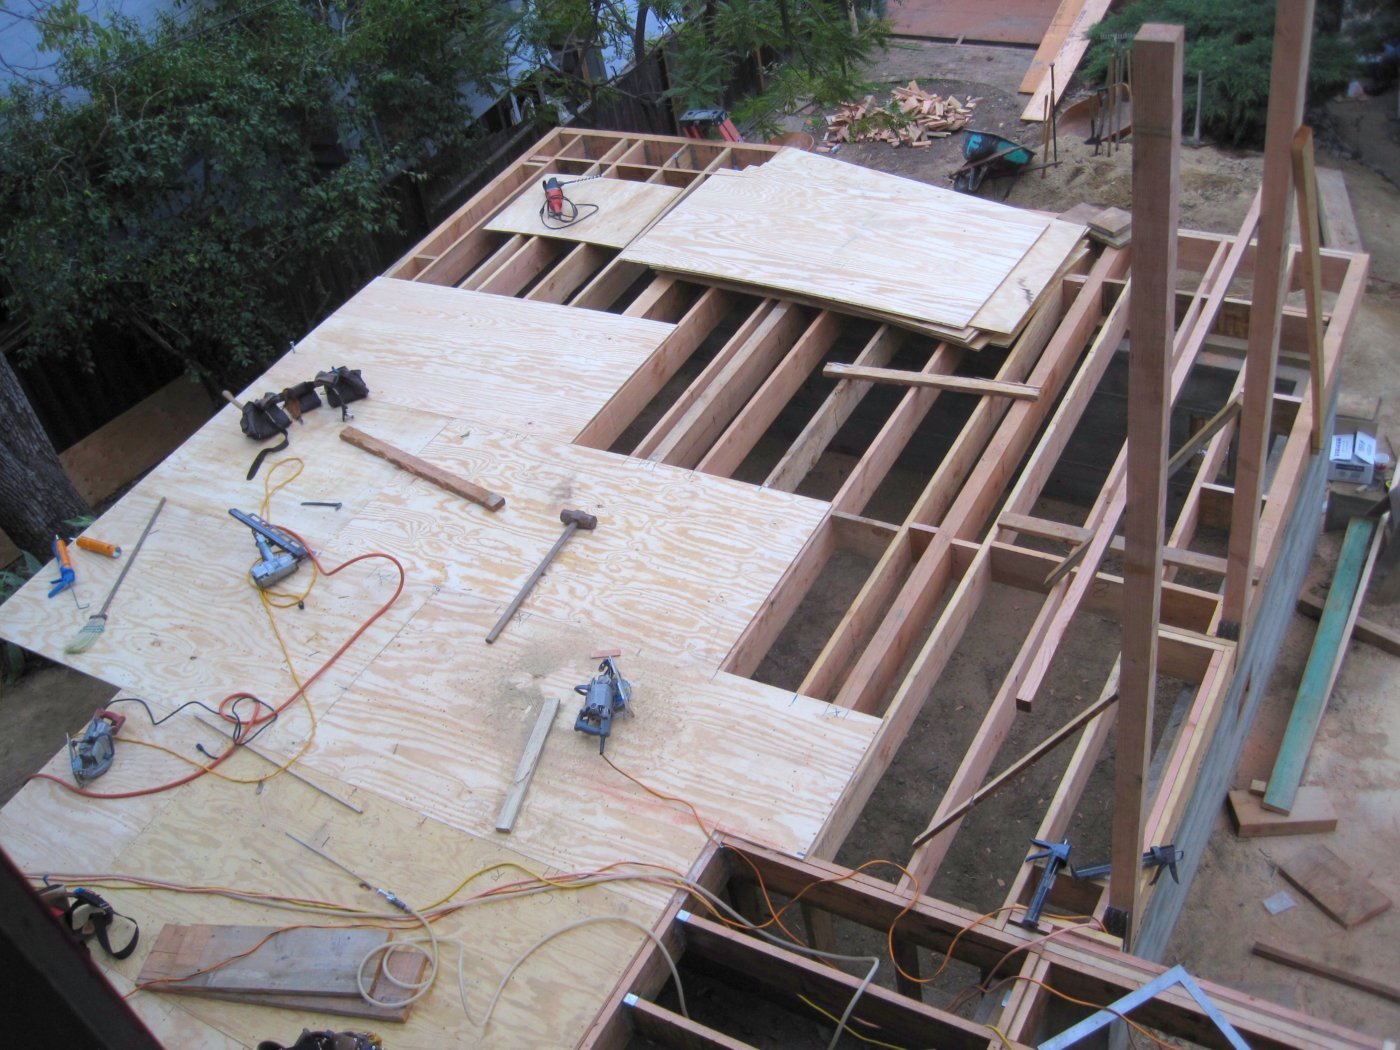
This week the crew layed out the first floor and framed most of the walls.

Chillo lays out the floor plan by measuring and marking the layout on the plywood and snapping lines with colored chalk. The crew then attaches the sill plate and top plate of the walls to the plywood and transfers the layout to the plates.


Framing notes on the plywood...this is where a
window is going.
sketch of a window

The orange lines are the chalk dust
The other colors are showing where the wood studs
and columns should be framed.


The crew turns the sill plates on their
sides and use the framing notes to attach
wood studs to the top and bottom plates.


When two perpendicular walls are done
they lift them into place and nail them.


Holding the walls in place while they are nailed.

The second wall gets lifted into place.


After one day half the walls are up.


After the second day all but one of the first floor walls are framed...below is a view from the corner window of the Master Bedroom.  The stud in the corner is bracing the walls until the beams are framed above.  Eventually the window that goes in here has no corner mullion so that the view will be clear.


View of South wall first floor framed...


Bea and Ella in the Master Bedroom...


View from Bedroom to Bathroom


View from new lower hallway to side yard - after the framing is done there is going to be a lot of grading to do and several garden walls to make to navigate the slopes of the back yard.


Saturday, November 20, 2010

Installing the Plywood


After the floor is framed, blocked and all the hardware is attached it's time to attach the plywood.


The plywood went on in lightning speed...A few boards needed some nudging.  The plywood is T&G (Tongue and Groove) so that it holds together better and doesn't settle differently.  When the plywood has square edges there is a better chance that the seams can end up at slightly different heights over time.


Two guys hold the seam together by standing on it while the third knocks it  into the groove...


The Structural Engineer specified the spacing of the nails in the drawing set  that the crew has to follow - this floor is nailed in at 6" centers around the perimeter and 10" centers at the intermediate joists.


cRim
e scene - 1


Unfortantely, the girls were so upset that the addition did not include their bedroom that they jumped out the second story window...

Wednesday, November 17, 2010

Floor Framing

The crew has been framing the first floor the past few days.  There is a lot of hardware that gets installed which makes the floor framing take longer.  The perimeter beams are on top of the anchor bolts and needed to be notched at each location.  And the Structural Engineer is calling out for a lot of "hold downs."  The hold downs are heavy steel anchors that get bolted to the sole plate and beams so that they all move together in case of an earthquake.  That is probably the biggest difference between the older houses and the ones that go up today.  


view from crawl space below

floor framed...


Lower Level Floor Plan

Upper Level Floor Plan


The crew has also been stacking up the materials  that are going to be hauled from the site....


and finally...the big pile gets thrown over the side of the garage via a ramp to the hauling truck waiting below...yay!


"ELLAHARPERBEA"

Thursday, November 11, 2010

Backfilling and Framing

They finished removing the remaining form work on Tuesday and have started the process of backfilling the remaining trenches.  Only the excavated decomposed granite can get put back in and it has to be placed so that it can regain it's density and therefore strength.  The granite is placed into the trenches in what is called 2' 'lifts'.  That means that only 2' high of soil is placed at a time, it is wetted with a little water to help it settle and hold better and then it is pounded by a mechanical device called a compacter.


The old formwork boards are scraped and
 the nails removed so that they can be
re-used for another pour.


shoveling dirt from the big pile to the inside of the walls


finished walls, stripped of formwork


       compacting the soil


The first piece of framing to go on is called a sole plate - it is pressure treated lumber that has been designed to be placed against the concrete which will always have a little moisture in it and could rot untreated wood.  Here Chillo pre-drills holes into the plate that match the bolts that were cast into the concrete.

The sole plate going onto the wall


The last of the form ties are getting snapped off so that they won't be 
visible any more.

The plate gets attached to the wall - a large steel square washer and nut are placed onto the sole plate and the nut is tightened by mechanical tool so that it reached the right torque.


this what the sole plate, bolt, washer and nut looked like when they're all assembled - they are placed 18" on center


A cripple wall is a short wall...here Chillo is building a
cripple wall that extends from the new floor height to
 the existing floor height - there is a 2' difference.
He is also using a jack to lift the house a
little in spots where it has settled.
He can only jack it up a bit or else the windows which have
settled with the walls over the years will pop and break.

Bea and Sofie